Tips for rebuilding your Fiat DOHC engine
This is not intended as a guide on how to rebuild an engine. Rather, it gives some useful tips to those who already have most of the necessary knowledge, but may not be familiar with some of the quirks of this engine.
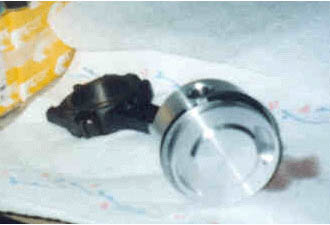
Pistons:
Don't assume that pistons are ready to use out of the box! Most have a many little pieces of machining scrap still attached. Carefully go through each piston, look at them and feel them with your hands. Remove any loose parts with a pick.
The piston below is a "8.9:1 compression" for a 1756/1995 TC.
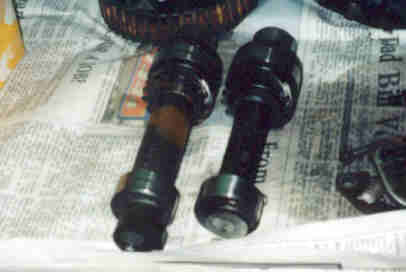
Auxiliary shaft:
I found that not all auxiliary shafts are the same. The picture below shows that some are much thicker than others. I used the thinner one for less rotational weight. It really only matters if one is after every ounce of horsepower.
It is more important to remove the fuel pump lobe from the shaft's end (the left hand shaft in the picture still has its lobe, the other one is cut off). It can strike the number two big end if the cambelt breaks and it extreme cases this can put a hole in the side of the block! (Mostly a problem on 1995cc engines) If a mechanical fuel pump is not used the lobe can be cut off with a hacksaw or cutoff wheel. Then one has to tap and plug the oil passage. I found that not all oil holes are the same diameter, so just find an appropriately sized tap and same-size plug. I used threadlocker to make sure it does not back out.
Gaskets:
Not all gaskets are created equal! Some may fit, some may not. Take a look at the oil filter housing gasket in the picture below. The gasket is supposed to seal the hole, but it is too wide! If it would have been installed, it would have allowed a large amount of oil to bypass the filter!

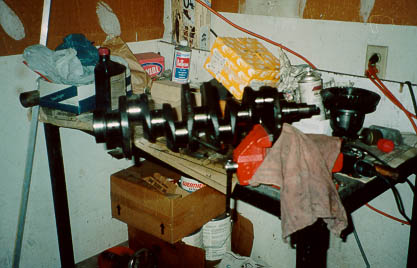
Crankshaft:
Some books say to remove the oil gallery plugs from the crankshaft to clean the passages, then tap the holes and plug the ends with threaded inserts. I followed that advice and found that the passages were as clean as could be. I broke three high quality taps while tapping the holes. The crank is made of very high quality steel, and is hardened!! In retrospect, I should have left it all alone. I could have sprayed carburator cleaner into the passage and see how clean is the fluid coming out. My friend Pete Angel suggested that if the history of the motor is unknown or if the crank has been turned, then it's best to clean these passages. If the history is known and good then they may be left alone.
Rotating assembly:
Make sure the crankshaft and camshafts rotate freely. This is easy enough to check on the crank, just rotate once it is installed before the pistons are installed. One should be able to rotate it relatively easily by hand.
The camshaft is a little more involved. It is best to install the cam in the housing (camtower) using some assembly lube and all the necessary gaskets. Check if it spins freely. If it does not, the gasket in the back cover may be too thin causing the cam to bind. This gasket determines the end-play of the cam. Install the housing on the head and torque the bolts to spec. Again check if the cam spins freely. If it does not, the head may be warped, distorting the housing as it is bolted down.
Lastly, don't forget to check the auxiliary shaft.
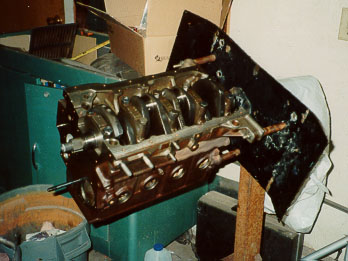
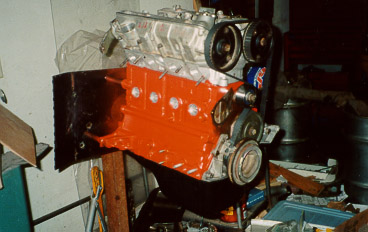
Here's a picture of the 2 liter engine I built before it was installed:
Return to Csaba’s Fiat Page.
Return to Csaba’s Page.